
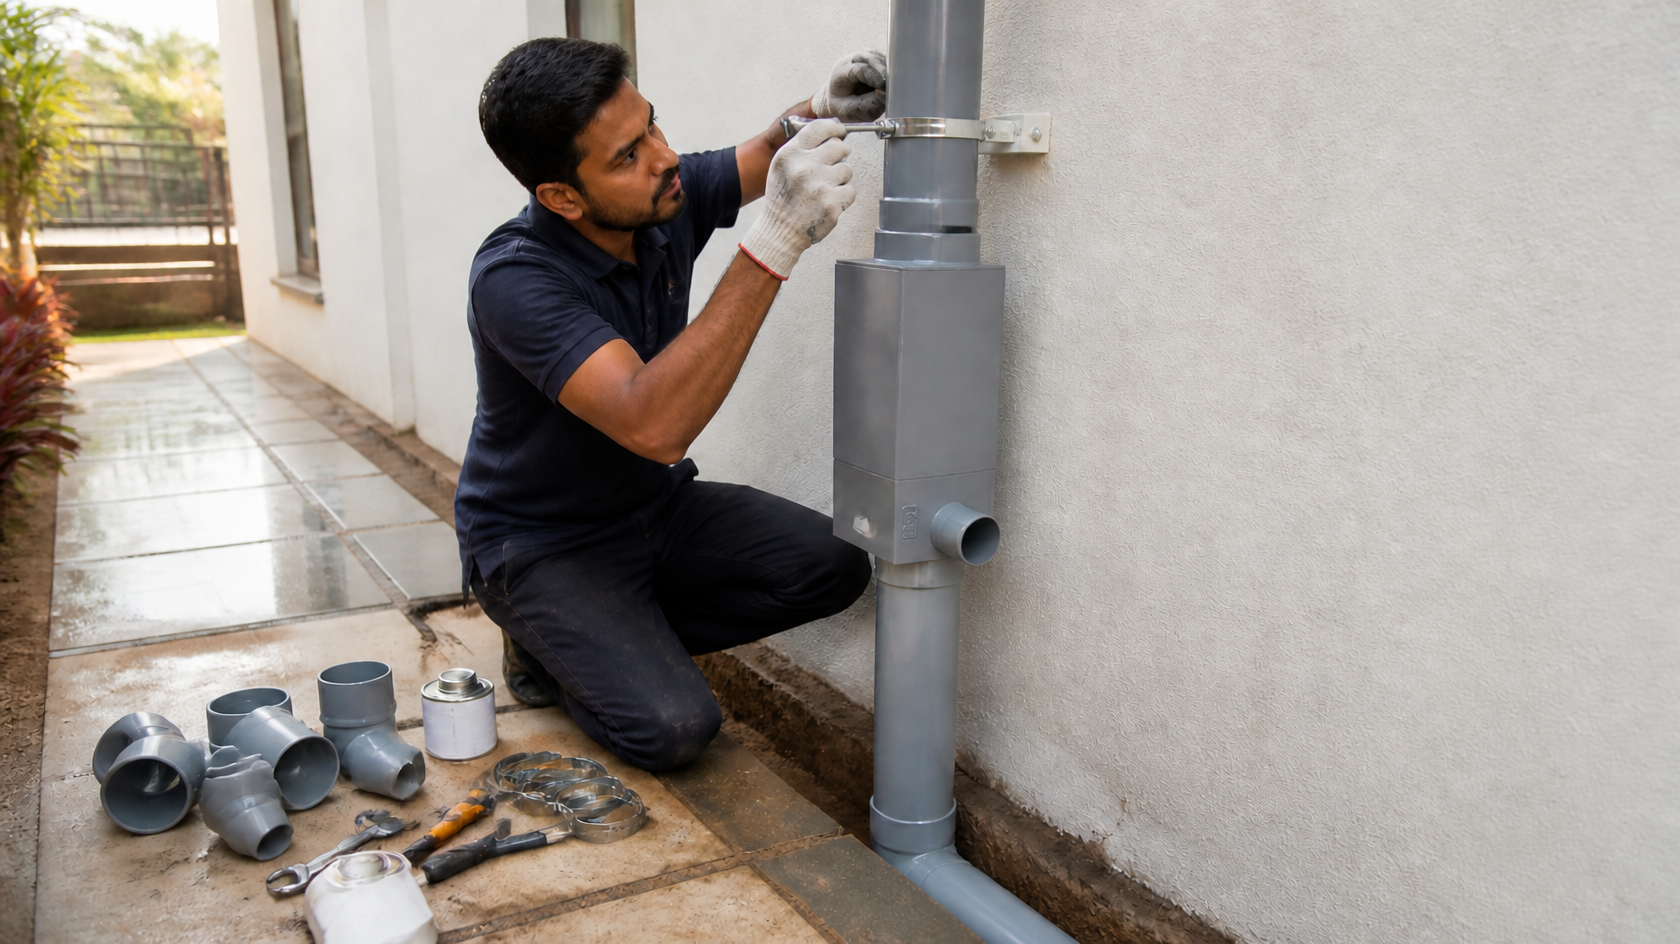
A rainwater harvesting system setup looks complicated from the outside, but for a home it comes down to one simple idea: catch the rain that falls on your roof, clean it, and either store it or send it underground. Done properly, it works for years with almost no attention. Done carelessly, the pit clogs in the first monsoon and the money is wasted.
This step-by-step guide walks you through the whole setup, from checking your roof to the final pre-monsoon test.
What a rooftop rainwater harvesting system is made of
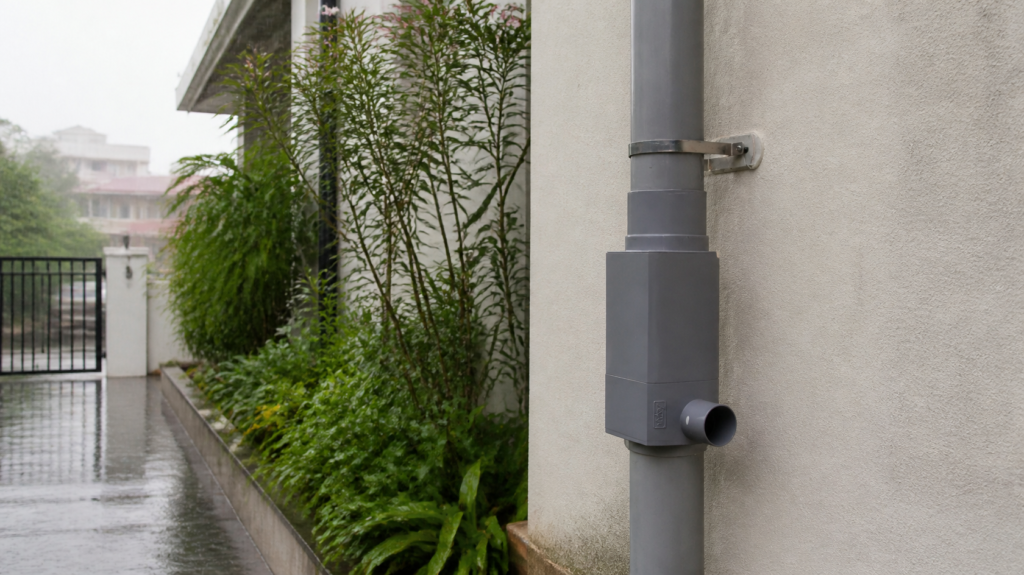
Whatever the size of your home, the system has the same five stages: the roof catchment, the pipes that carry the water, a first-flush arrangement, a filter, and finally a storage tank or a recharge structure. Indian guidance for individual houses recommends rooftop harvesting as the most suitable approach, and the national standard for roof-top rainwater harvesting covers both storing water for use and recharging it into the ground.
| Stage | What it does |
|---|---|
| 1. Catchment (roof) | Collects the rain. Bigger roof, more water. |
| 2. Downpipes and conveyance | Carry the water from the roof to the system. |
| 3. First flush | Diverts the dirtiest first runoff so it does not enter the system. |
| 4. Filter | Removes leaves, dust and debris before the water goes further. |
| 5. Recharge pit or storage tank | Sends water into the ground or holds it for use. |
Step 1: Check your roof and site
Walk around the house and note the roof area, the position of each downpipe, and where there is open space for a pit or tank. Check the roof surface and gutters for loose debris, and look at where your borewell or open well is, because the best recharge pit is often close to it. If your house has more than one terrace or roof level, each downpipe may need its own connection.
Step 2: Estimate how much water you can harvest
Use this simple formula:
Water harvested (litres) = Roof area (m²) × Annual rainfall (mm) × 0.8
The 0.8 is a runoff factor for a concrete roof. For example, a 1,200 sq ft roof is about 111 m². With 800 mm of annual rainfall, you can collect roughly 71,000 litres a year. Use your own location’s rainfall figure for a real estimate.
Step 3: Choose the type of system
- Recharge only: filtered water goes into a recharge pit or your borewell. The most affordable option, and a good choice if you already have a borewell or open well.
- Storage only: water goes into a tank for direct use. It needs space, a pump and more cost.
- Combined (storage plus recharge): the tank fills first and the overflow goes to the recharge pit, so no rain is wasted. For most homes with a borewell, this gives the best value.
Step 4: Prepare the catchment and downpipes
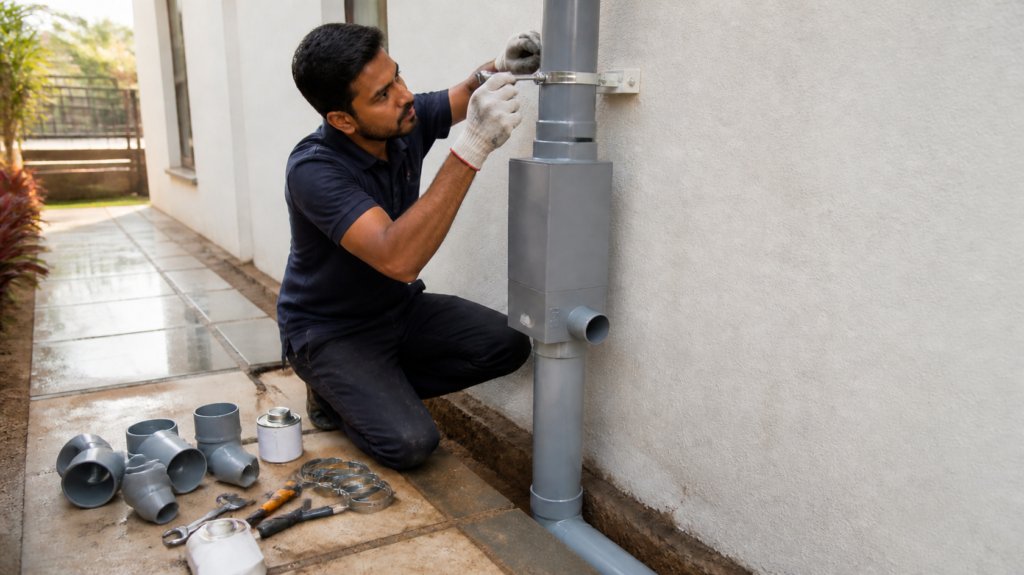
Clean the roof, clear the gutters, and make sure each downpipe is firmly fixed to the wall with clamps. Check the joints for leaks, because every drop lost here is water you will not harvest. Keep the downpipes straight and the same diameter along the run where the filter will be fitted.
Step 5: Install the first flush and the downpipe filter
This is the most important stage for the long-term life of the system. The first rain after a dry spell washes dust, leaves and bird droppings off the roof, and this should never reach your pit or tank. A good filter fitted on the downpipe takes care of this before the water travels further.
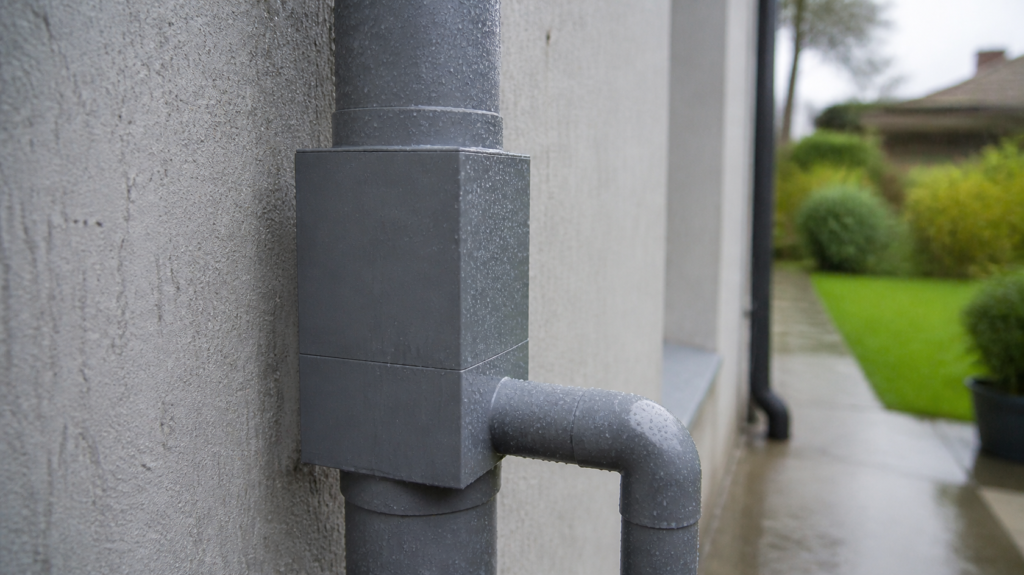
WISY downpipe filters are fitted directly on the downpipe and work in four ways that matter for a home system:
- Automatic first flush: the first dirty runoff is separated automatically, with no valves to operate.
- Self-cleaning vortex filtration: debris is carried away by the flow instead of clogging the filter.
- Oxygen enrichment: water leaves the filter aerated, which helps keep stored water fresh.
- German engineering: a proven design used in rainwater systems across the world.
The filter has a side outlet for the cleaned water. The pipe you connect to this outlet must be the same diameter as the outlet, joined straight on with a proper coupling. Mismatched pipe sizes at this joint cause leaks and slow the flow.
Step 6: Lay the pipe from the filter to the pit or tank
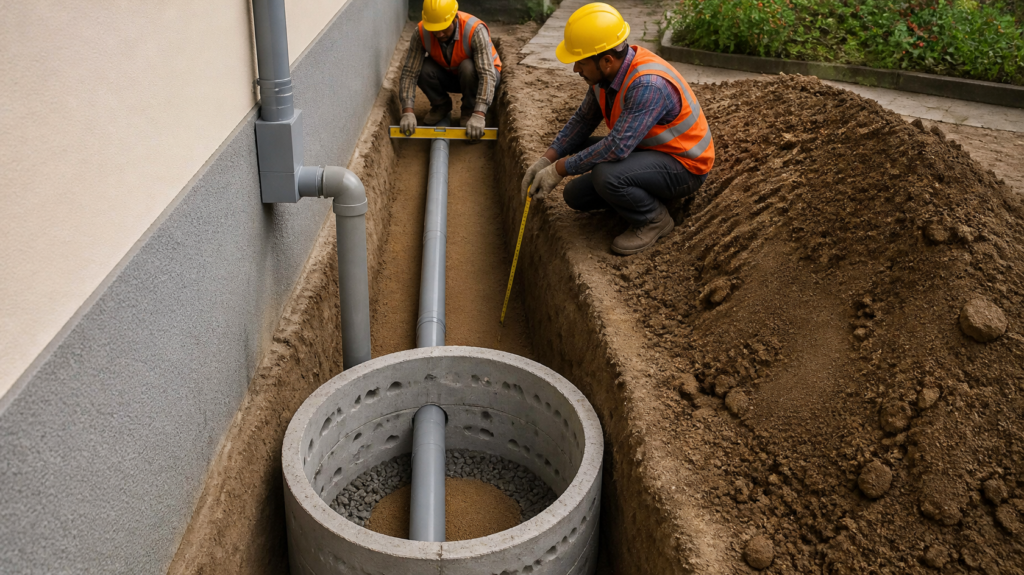
Dig a narrow, straight trench with clean walls. Lay the pipe on a smooth bed of sand with a gentle, uniform slope towards the pit or tank, using proper couplings and bends rather than improvised joints. Avoid sharp bends and low spots where water can stand. Backfill with soil in layers once the pipe has been checked.
Step 7: Build the recharge pit
A recharge pit is a closed, well-like structure filled with filter media that lets clean water soak into the ground. If you want to recharge a borewell, the pit should be built close to it. A typical pit is lined with perforated concrete rings or brick with weep holes, and filled in layers: coarse pebbles or boulders at the bottom, gravel above them, and coarse sand on top. The filtered water from the downpipe filter enters the pit through a sealed inlet, and an overflow is provided so the pit never backs up into the pipe in heavy rain.
Step 8: Add a storage tank if you want to reuse the water
If you want to use the water at home, add a tank with these basics:
- A calming or smoothing inlet, so incoming water does not stir up the sediment at the bottom.
- An overflow pipe, ideally leading to the recharge pit, with a mesh or backflow guard against insects and rodents.
- A fine mesh on all openings, and a tank cover that keeps out light.
- A pump and a separate supply line only for the uses you plan, such as garden, washing or toilets.
Step 9: Test the system before the monsoon
Do not wait for the first heavy rain to find faults. Run water from a hose onto the roof, or pour buckets of water into the downpipe, and check:
- No leaks at the downpipe joints, filter and outlet coupling.
- Water flows steadily through the pipe to the pit or tank.
- The overflow works and does not flood the surroundings.
- The pit takes water freely and does not back up.
Step 10: Keep it working
Maintenance is light:
- Self-cleaning filter: no maintenance is needed.
- Recharge pit: needs de-silting and basic upkeep before the monsoon, typically costing about ₹1,000 to ₹2,000 a year. Guidance for recharge structures recommends de-silting at least once a year to keep the intake capacity.
Common mistakes to avoid
- Skipping the filter, so silt and leaves choke the pit within a season or two.
- Using a pipe of a different diameter from the filter outlet.
- Building the pit far from the borewell it is meant to recharge.
- Laying pipe without a slope, so water collects and does not flow.
- Having no overflow, so the system floods in heavy rain.
- Treating the pit as a one-time job and never de-silting it.
Is rainwater harvesting mandatory in Tamil Nadu?
Yes. Tamil Nadu made rainwater harvesting compulsory for buildings across the state through a 2003 ordinance amending the municipal laws. A well-built, working system satisfies the rule and also does the job it was meant to do.
Frequently asked questions
How long does it take to set up a home rainwater harvesting system?
A typical recharge system for a home is usually completed within a day or two, depending on the number of downpipes, the soil and the pit size. A system with a tank and pump takes longer.
Can I set up rainwater harvesting in an existing house?
Yes. Retrofits are very common. The existing downpipes are used as the starting point, with the filter, pipe and pit added around them.
How many filters do I need?
One filter is needed for each downpipe or roof section you want to harvest. Your installer can work this out from your roof layout.
Does the system need electricity?
A recharge system needs no electricity. A pump is needed only if you store the water and want to use it at home.
When is the best time to install?
Before the monsoon. Installing and testing the system a few weeks ahead means you do not miss the first rains.
Get your rainwater harvesting system installed
RPV WISY supplies WISY rainwater filters across India and installs them through a network of dealers. Share your roof area and location, and our team will suggest the right setup for your home.
Get a free consultation on WhatsApp: +91 81223 00301
Sources and further reading
- Central Ground Water Board: artificial recharge for individual houses
- Centre for Science and Environment: components of rainwater harvesting systems
- Bureau of Indian Standards, IS 15797:2008, Roof Top Rainwater Harvesting – Guidelines
Leave A Comment